 EXTON OpSuS Tumbleweed Budgie is based on openSUSE Tumbleweed, which is a rolling distribution. I.e. no need for new installations. Just run the command sudo zypper dup and you will always get the latest stable packages/kernels.
ABOUT
EXTON OpSuS Tumbleweed Budgie uses kernel 4.14.14-1. Desktop environment: Budgie 10.4 Desktop. Installed programs: Among many other programs, Firefox, Gimp, SMPlayer, NetworkManager, GParted and LibreOffice. You’ll run the system as root or as the ordinary user live. Root’s and live’s password is root/live. EXTON OpSuS can easily be installed to hard drive (of those who so desire). You’ll have to do it manually though – please read below. All programs have been updated to the latest available stable version as of January 25, 2018. The system language is English.
Installing to a USB stick with persistence and then to hard drive
After installing EXTON OpSuS Tumbleweed to a USB stick, you can change the system completely and then install the system (manually) to a hard drive. You can also continue to have it only on the USB stick. If you install EXTON OpSuS on a large enough (and fast) USB stick, you can go ahead and install for example LXDE, Mate or Xfce4. All your system changes are automatically saved to the USB stick. Note that you’ll have to use a different/new USB stick if you want to run EXTON OpSuS on another computer. That’s because certain files necessary for the configuration will be destroyed after the first boot. I.e.: You’ll have to use the same USB stick on the same computer all the time.
Manual installation of EXTON OpSuS from USB stick to hard drive
PREREQUISITE: You’ll have to have at least one Linux system installed on your computer and use Grub2 as boot loader. If so then follow my INSTRUCTION.
Why should someone choose EXTON OpSuS/openSUSE?
openSUSE is grossly underestimated (in my opinion). It’s a wonderful Linux system.
SCREENSHOTS
The Budgie Desktop with Yast2 running
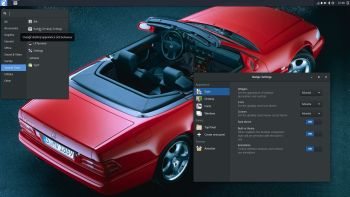
The Budgie Desktop with Budgie settings running
Install commands
Installing to USB with Etcher